 |
Interiour, landing gear and hatch
|
 Landing
gear in flight mode Landing
gear in flight mode
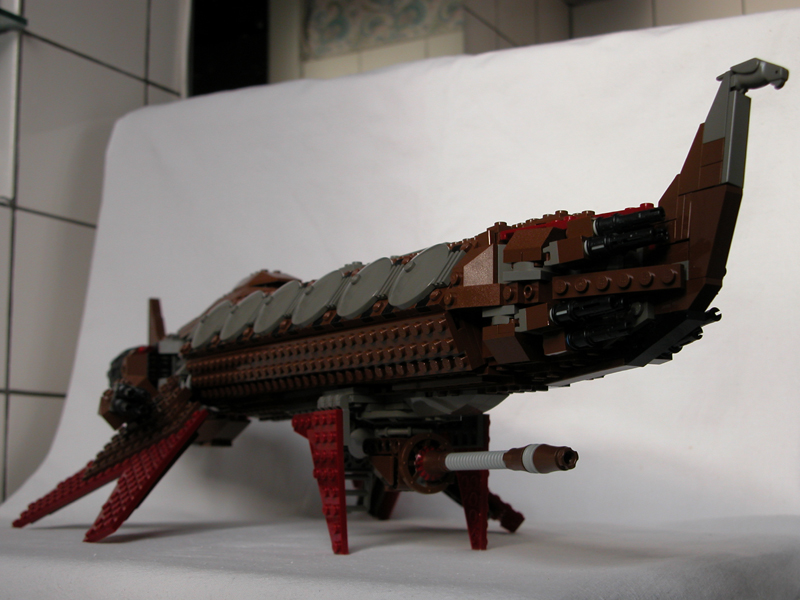
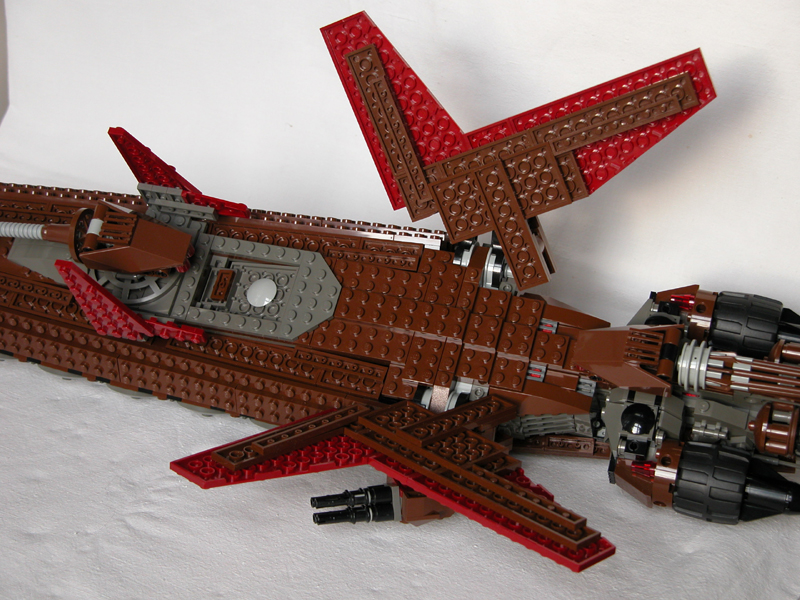
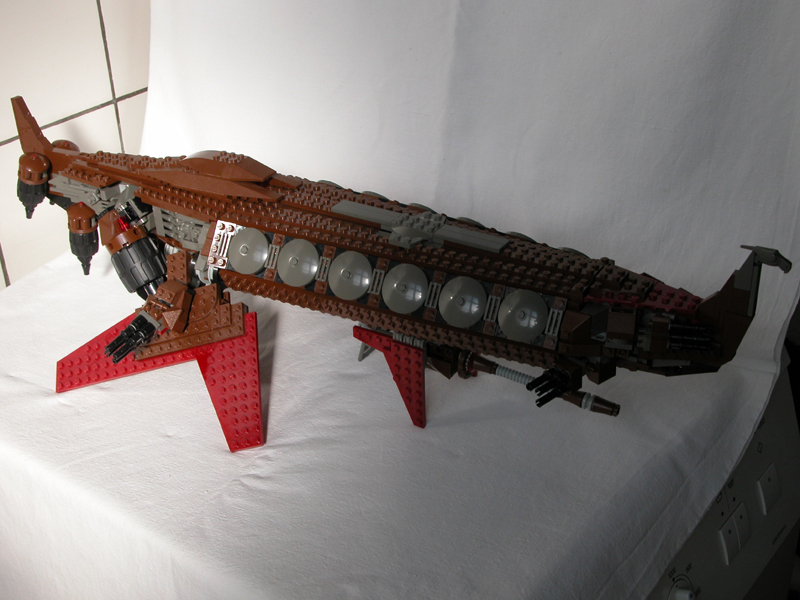
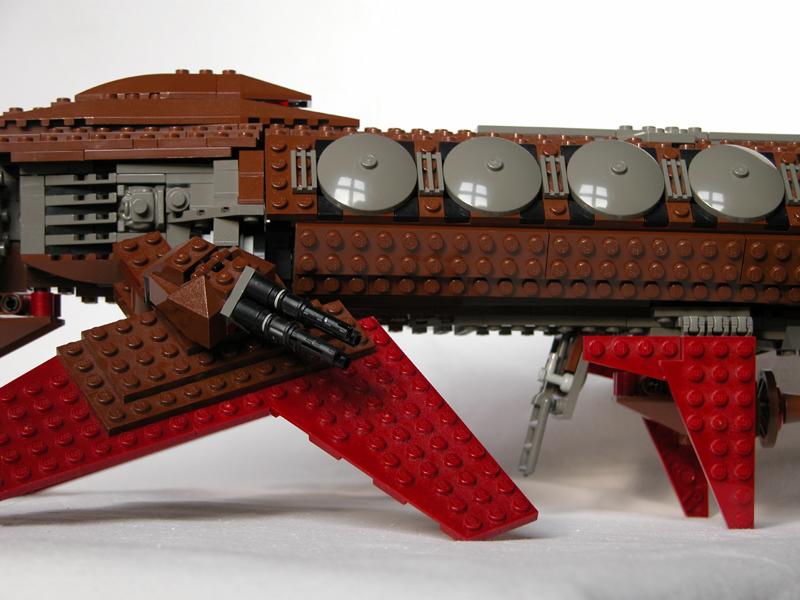
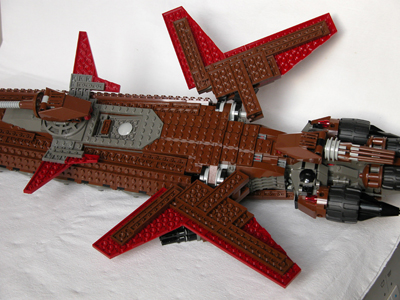
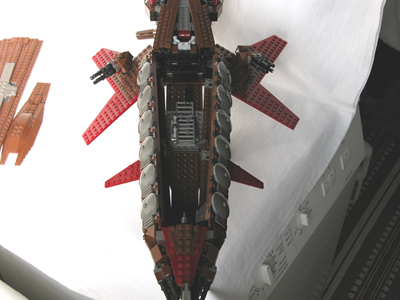
Landing gear: The jagged claw-style wings were one of the old
style details, that I wouldn't have repeated if I had started on the craft
half a year later: because of the studded finish (or unfinish).
Actually I probably wouldn't have made the craft at all because it
isn't possible to cover all the studs on the body with tiles without
ruining the lines of the craft: The stern is already too thin compared to
the cabin: adding a layer of tiles on the top and bottom would just
emphasize this problem.
Anyways, the wingtip landing gear is also an old concept I've been
using on and off since 23 Myg2 in 2002. |
 Landing
gear down Landing
gear down
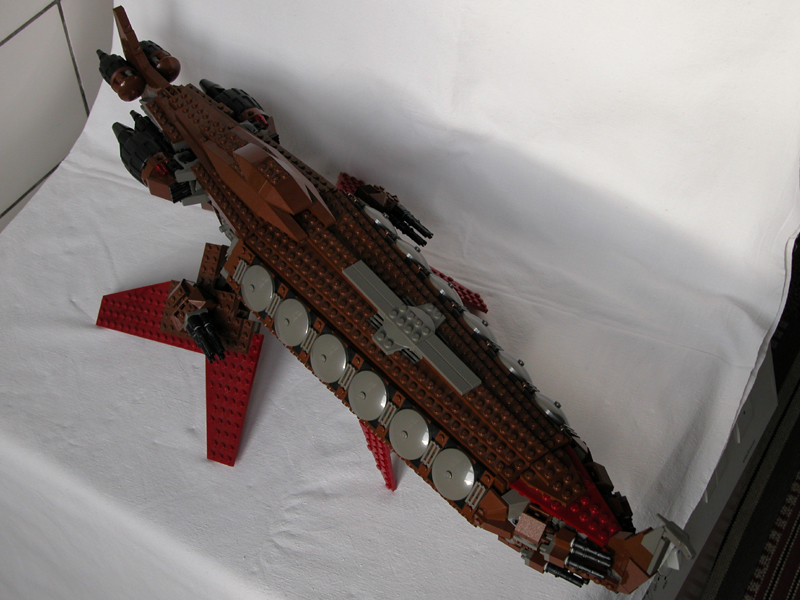
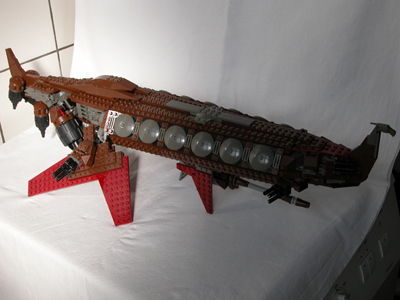
Wingtip landing gear: The good thing about external landing gear
is the fact that you don't have to make room for it inside, which often
results in pretty bulky looking crafts.
With wingtip landing gear, you can keep the slim and elegant style, and
have an extra excuse to put wings on your spacecraft: They do look pretty
cool, don't they? ;-) |
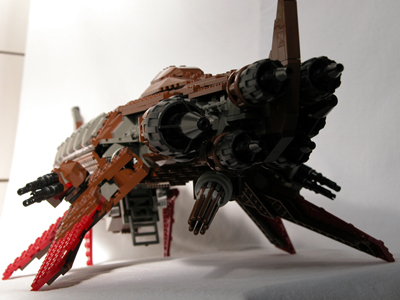
 Sun retuned to screw up the lighting again. Notice the engines placed in VTOL-position Sun retuned to screw up the lighting again. Notice the engines placed in VTOL-position
|
 |
 The hatch is open and the ladder is down. The hatch is open and the ladder is down.
|
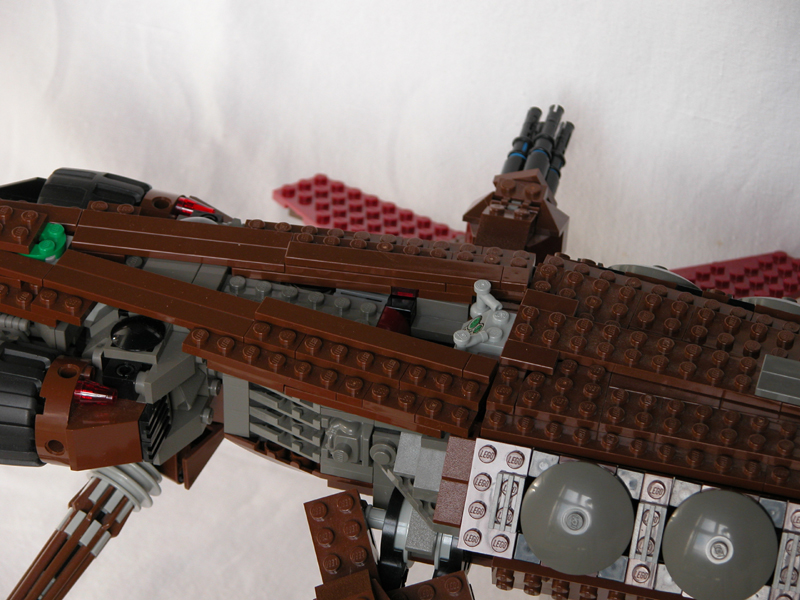
 The
best rear shot of the engines I have at the moment: made to follow the shape of the cabin The
best rear shot of the engines I have at the moment: made to follow the shape of the cabin
|
 |
 Hatch
and ladder Hatch
and ladder
|
 Cockpit
lid off Cockpit
lid off
|
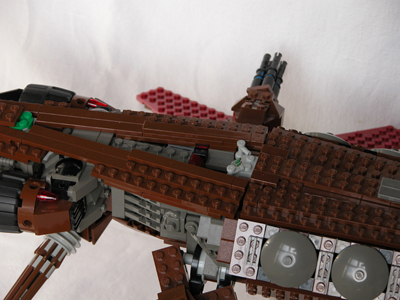
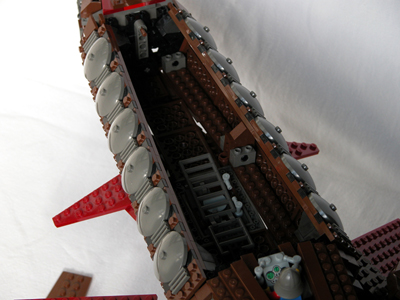 Cabin,
lid off. There's space for 24 Vikings on the benches along the sides. Cabin,
lid off. There's space for 24 Vikings on the benches along the sides.
I'd hoped on placing a mortar inside the cabin, just in front of the
cockpit, firing through a big round hole in the ceiling, but it would've
weakened the craft considerably, and it wouldn't have been possible to
make it large enough anyways.
|
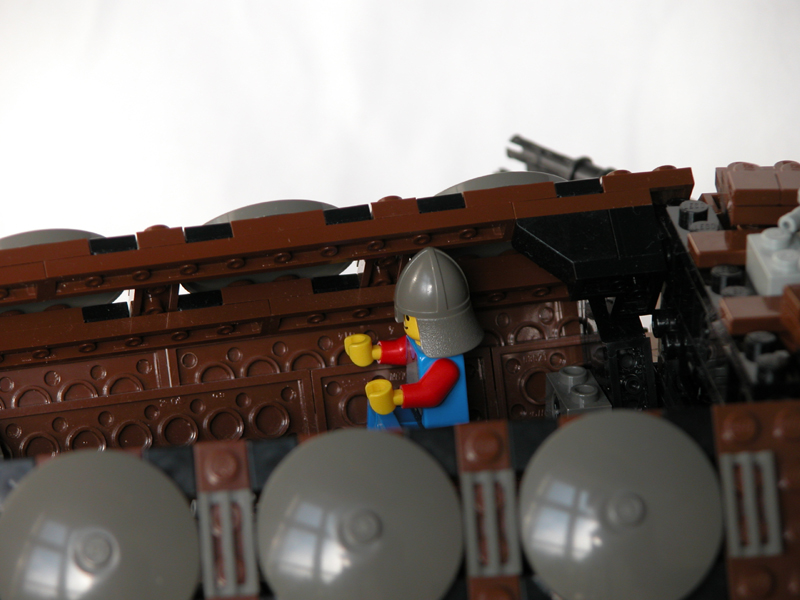
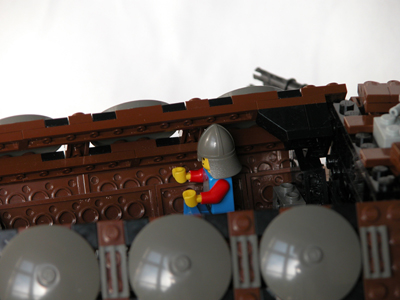 Room
for tall helmets (no, the Vikings didn't have horns). Room
for tall helmets (no, the Vikings didn't have horns).
Shields or
windows? Originally I wanted the 4x4 dish/shields along the upper
sides to be round trans-red windows, hence the open framed structure
they're attached to.
However, since I only got one in that colour, and since it isn't possible
to buy them in neither sufficient quantity nor quality (all the ones on
Bricklink are used). When I was lucky enough to lay my hands on a load of
dark grey ones, I decided to use that colour for the cabin and left the
framed structure behind as a relict of the old plan. I'll probably change
it into a more solid structure before the craft goes to the next
exhibition: it should help a bit on the slightly hanging nose. |
 Cabin
and cockpit seen from the front. The gaps along the bottom are the drawback
of the thin 2 plate thick bottom. Cabin
and cockpit seen from the front. The gaps along the bottom are the drawback
of the thin 2 plate thick bottom.
|
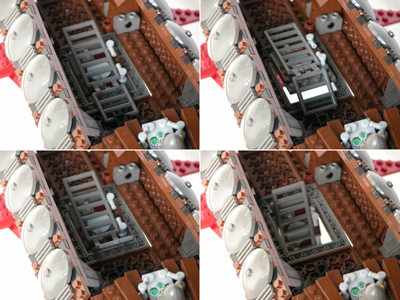 3
step opening of the hatch: First it has to be lifted up to be released
from the black clip holding it in place. Secondly, the lower part of the
ladder needs to be folded back to pass through the hatch. 3
step opening of the hatch: First it has to be lifted up to be released
from the black clip holding it in place. Secondly, the lower part of the
ladder needs to be folded back to pass through the hatch.
The final step is straightening the ladder out to get close enough to the
ground.
|
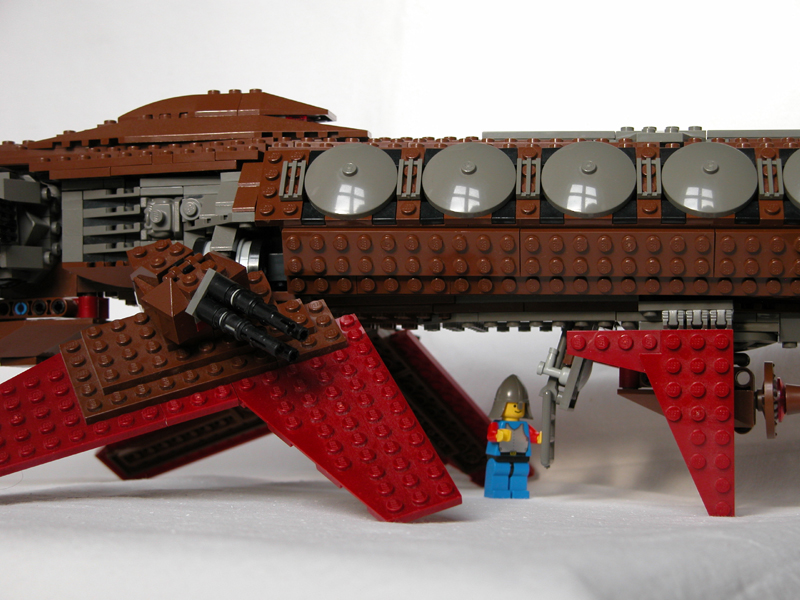
 Ready
for boarding or deployment. Ready
for boarding or deployment.
Extraction and deployment are always dangerous situations: deploying
24 troopers via ladder like here, takes a little too much time. But at
least there's plenty of suppressive fire available, and the wings give a
bit of cover
|
Go to: 67 Longship, Engine
and guns, Interiour, landing
gear & hatch |
|