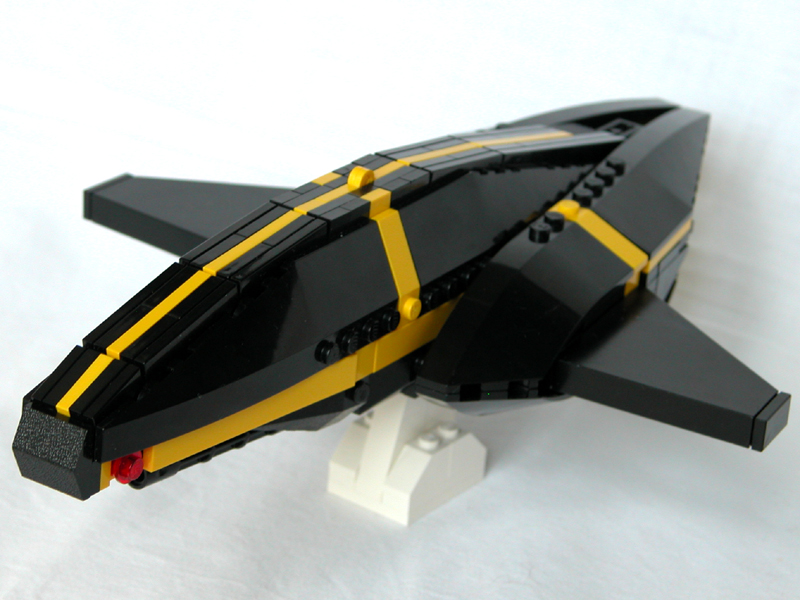
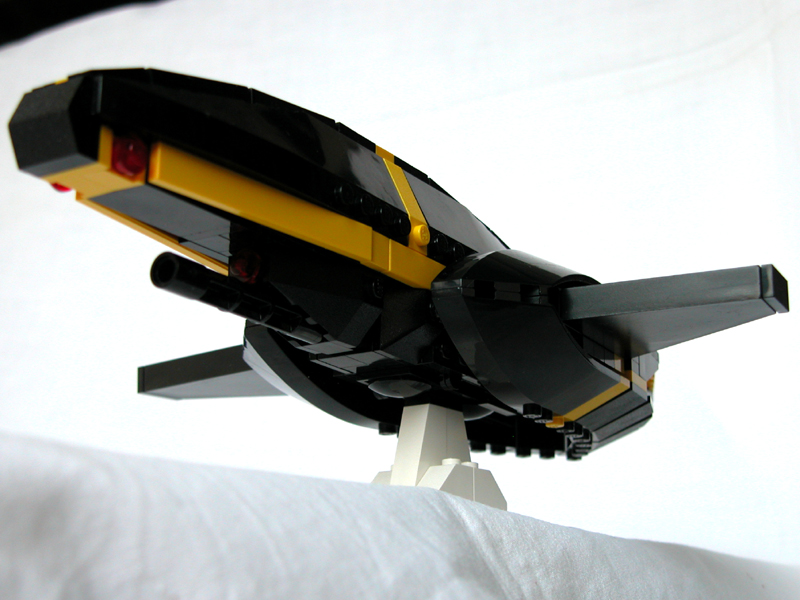
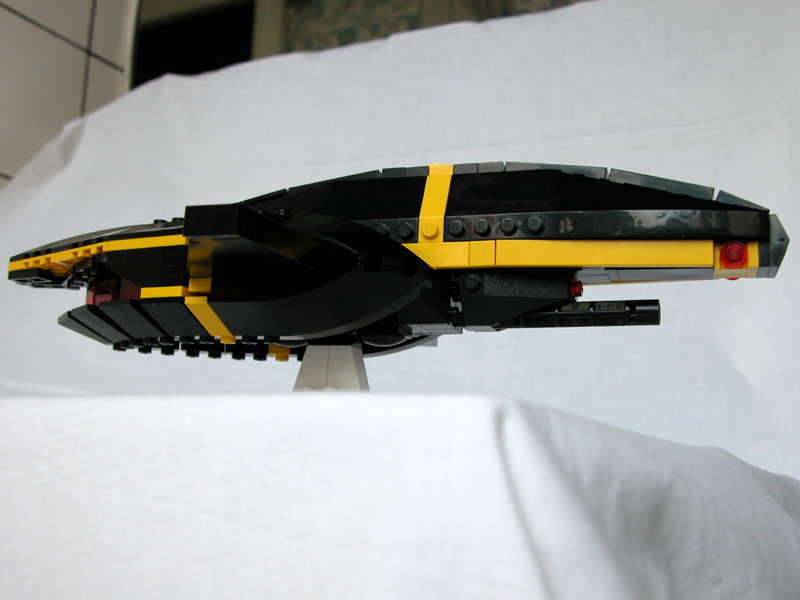
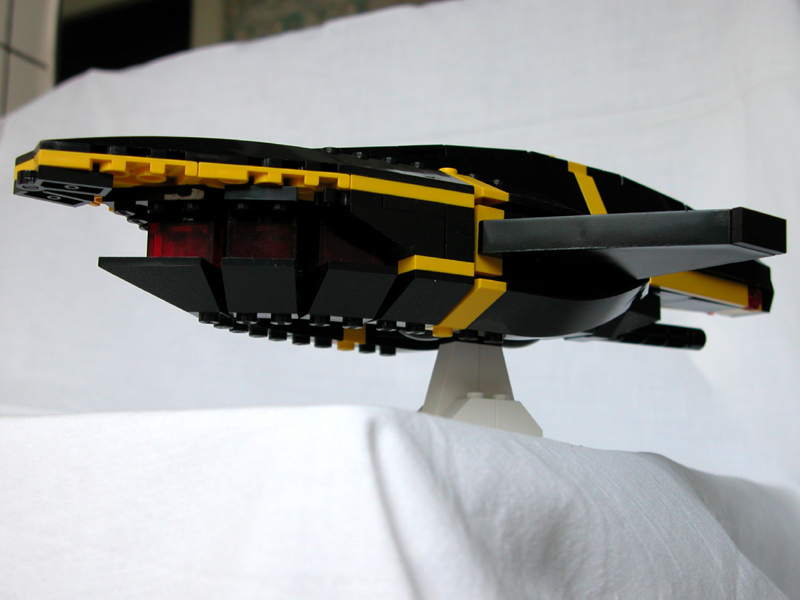
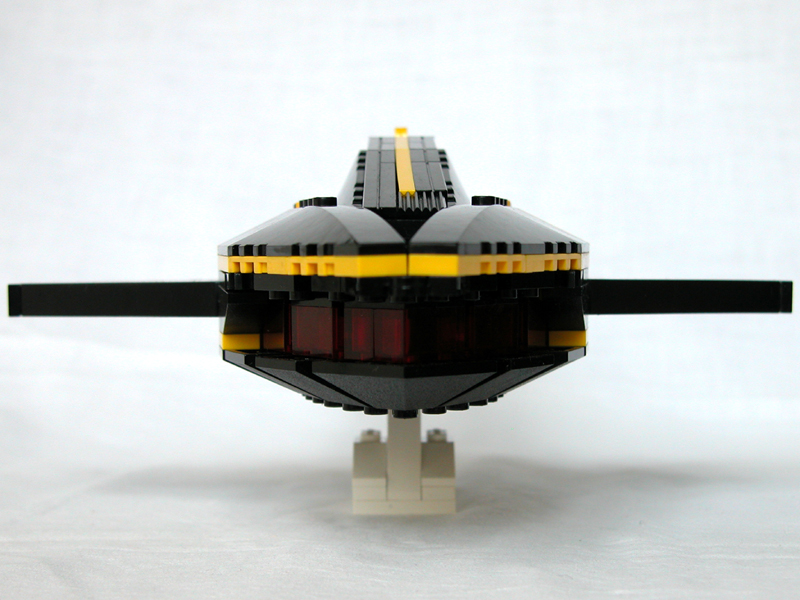
OP71.jpg (330505 byte)

71 Z-Fighter 2

Build 15/7 2006, Pieces: 353, Steps: 121
L/W/H: 34/24/8 studs, 26,85/18,52/6,11 cm

MLCad Building instructions here

71-0430high.jpg (375206 byte)Inspiration:

60 Horn 68 Z-fighter Harlequin by Kevin Blocksidge

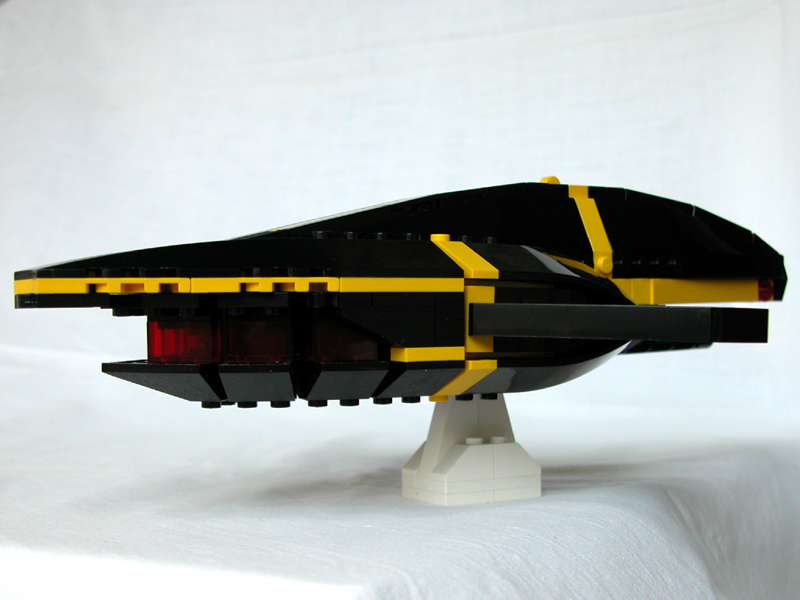
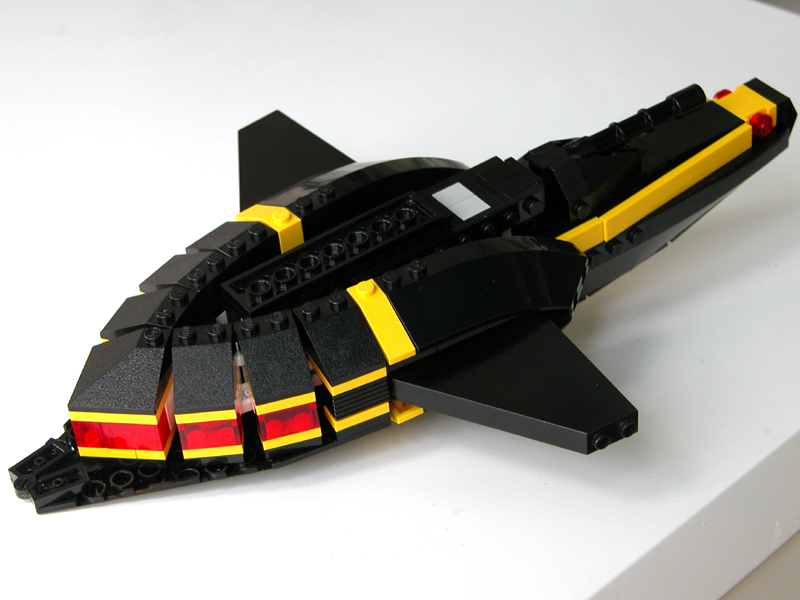
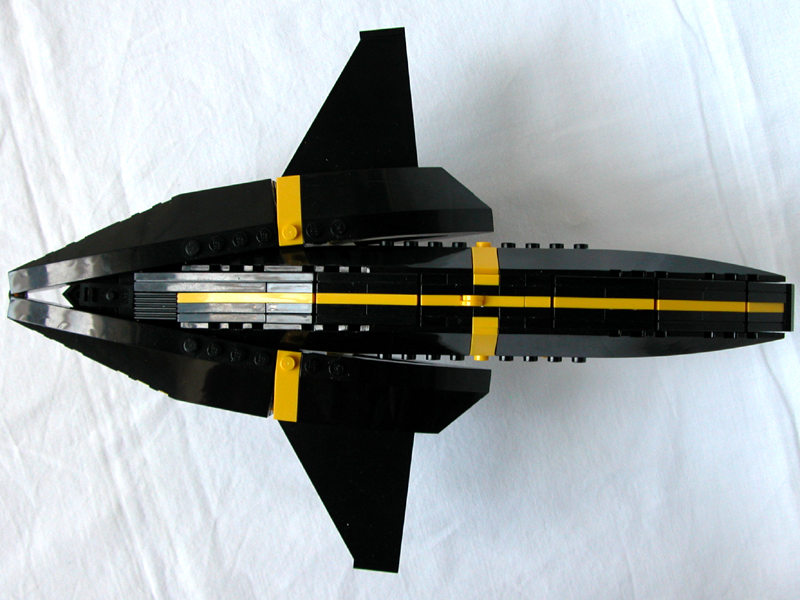
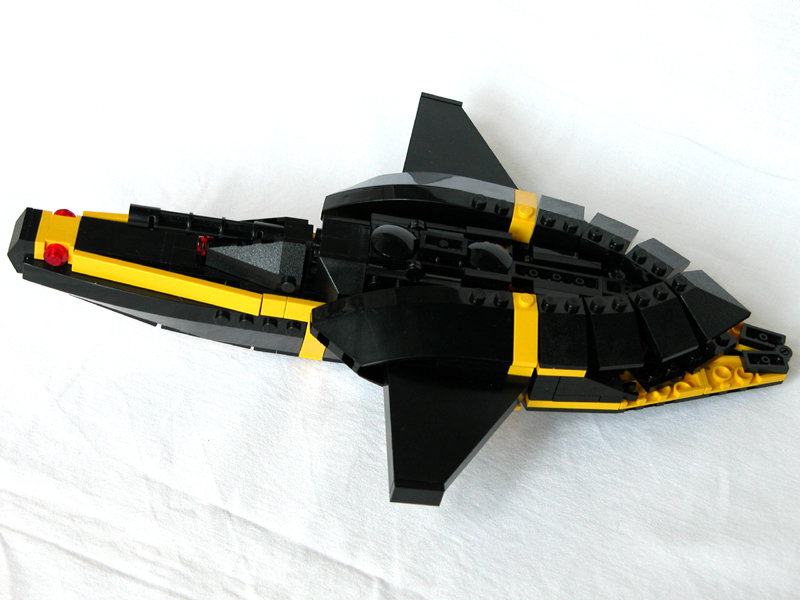
This model basically started out as a bit of experimentation with the long 3x12 slopes (yeah... again).

After finishing the 69 Redscout and 70 Space Countach, that shared surface angling techniques and corresponding sharp edgy and angled look, I wished to work a bit with rounded organic shapes again.

The point of departure was the combination of the long 3x12 slopes and 3x8x2 I'd used in the 60 Horn fighter. But in this case I wished to continue the curve down below by mirroring the shorter slopes.
At this point, I got the idea to connect two sets by the point of the long slopes and complement this with a shorter more "gothic" arch below using 2x3 slopes ending in a 3x3 corner slope as "capstone" and the same curving technique I'd used in the original 68 Z-Fighter - right below the upper, slimmer and longer, arch.

Basically this would result in a straight V-shape inside the structure (pretty hard to combine with anything), so like with the bottom arch, I decided to add yet another hinge so that I was both able to keep the forward big rounded slopes parallel, and as far apart as I wanted.

71-0430.jpg (359840 byte)Now, I usually prefer engines placed in a way so that the thrust vector is fairly centrally placed behind the craft pointing straight backwards. But on the other hand I really like asymmetry, so I guess we can call this vertical asymmetry...

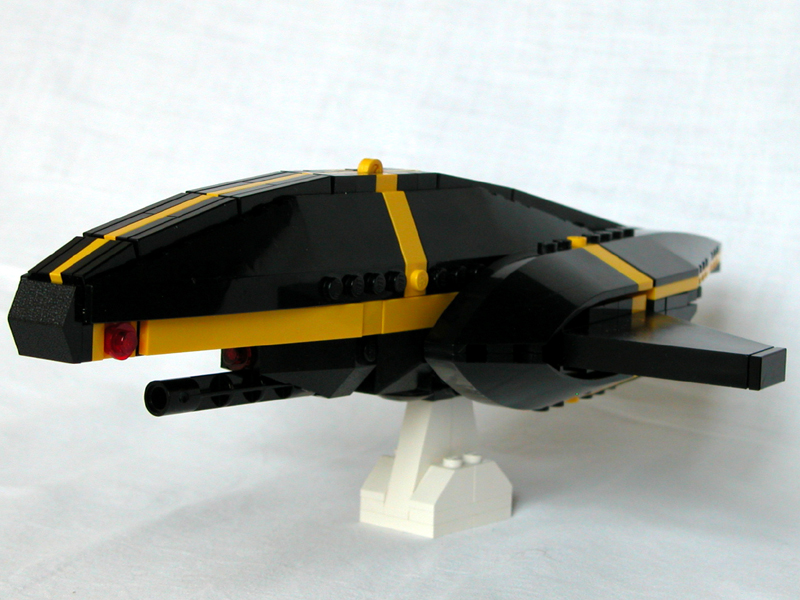
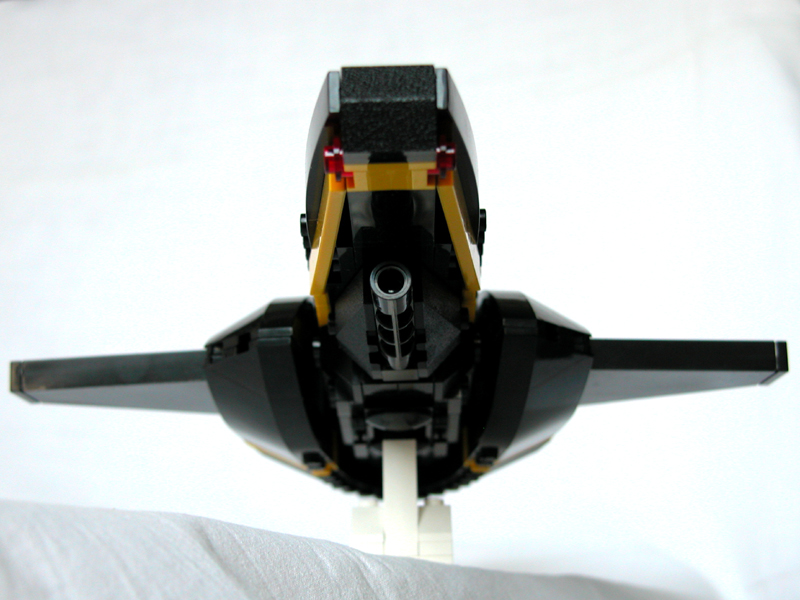
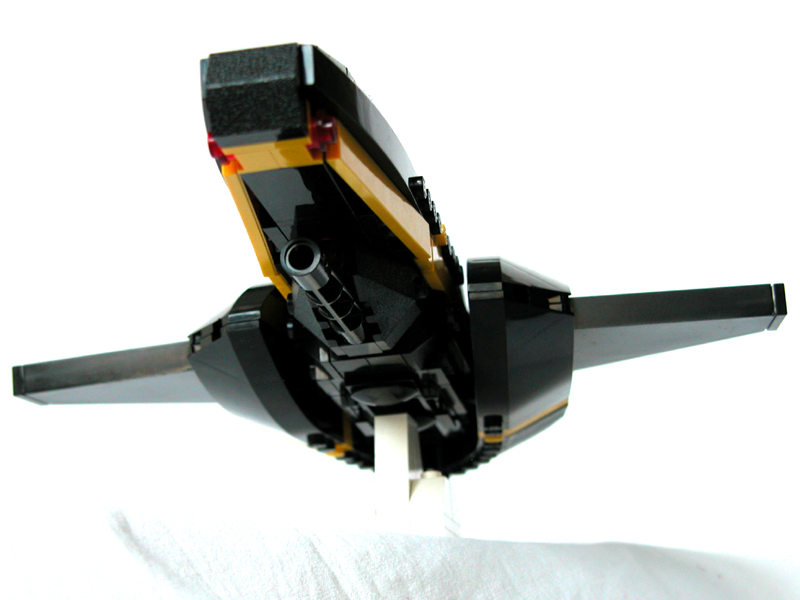
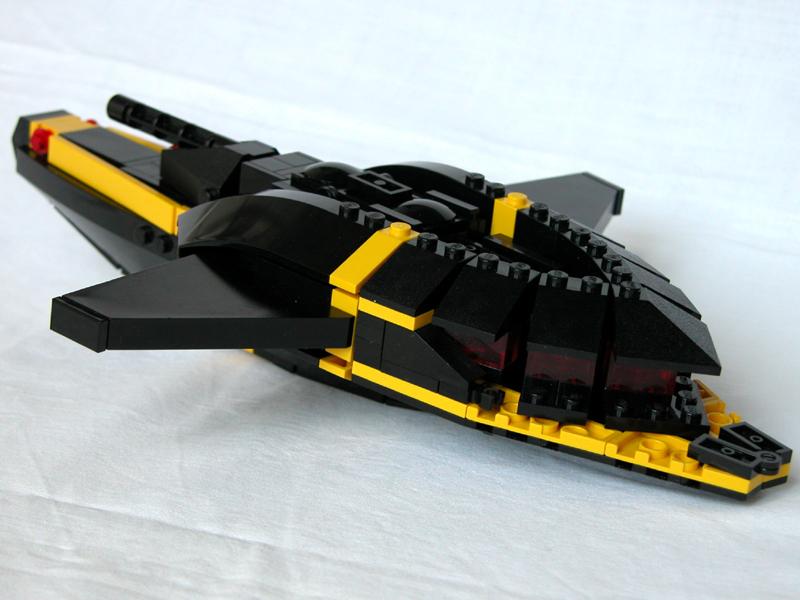
Engine: So, what was I supposed to do with this structure? It was pretty obvious that it was too small to accommodate a cockpit, but on the other hand perfect for an engine for something... but what?

Z-fighters.jpg (355525 byte)The two Z-fighters together

After a few moments of slight "oh no, another cool shape on the scrap yard because I can't come up with some good shapes to combine it with in a new model"-panic, it dawned on me that the perfect shape to combine with this rounded V-shape was actually the pointed oval from the Z-fighter. 
Right there in front of me.

71-1030.jpg (371611 byte)New and better nose

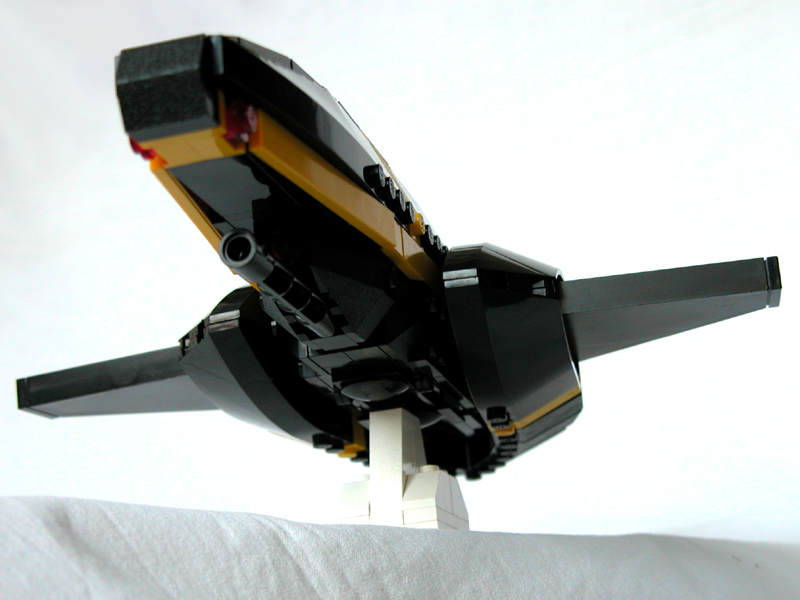
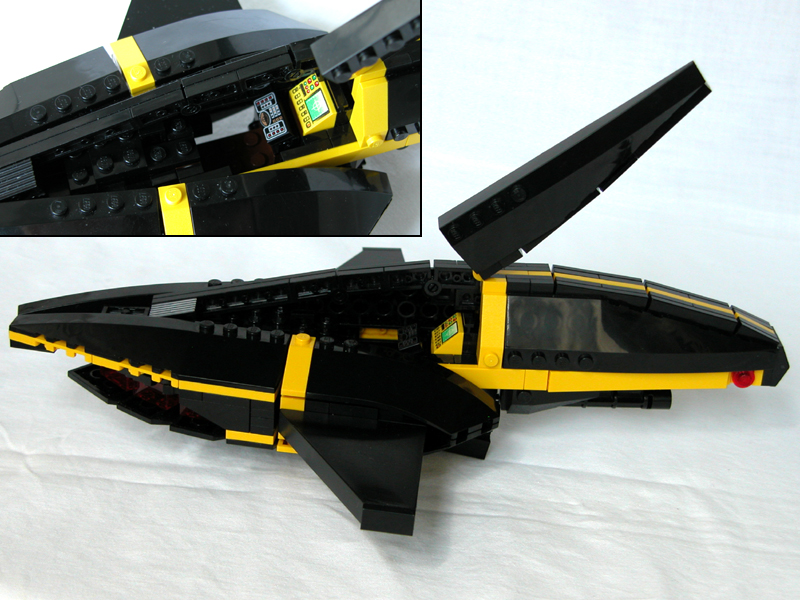
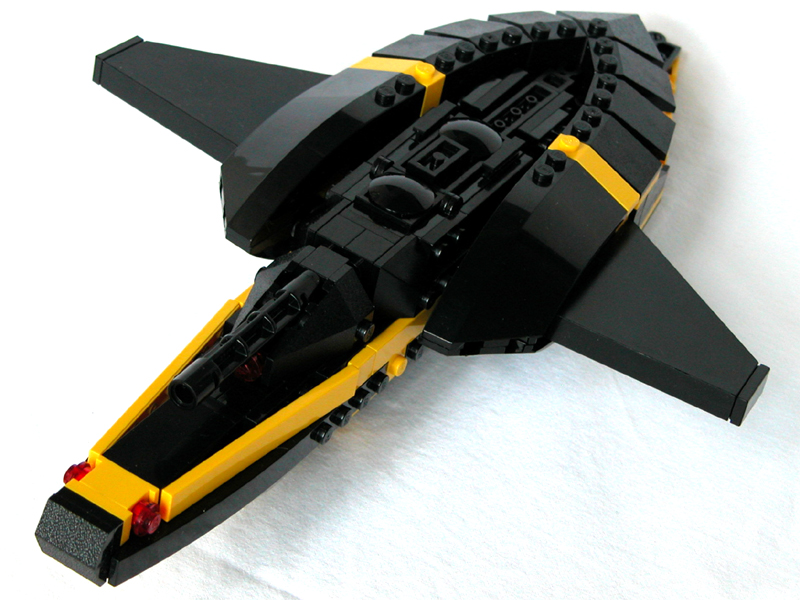
Nose: I hadn't actually imagined that I would return to the Z-fighter shape so early, but it was simply the perfect opportunity to improve on some of the things I was unsatisfied with in the first version.

First and foremost, I felt that the nose looked really big and clumsy because of the double slopes: above and below.
I seriously considered only using one set of slopes above like in this model, but you have to have a certain height to have room for a cockpit, and this would create a flat unaerodynamic surface right in front of the cockpit that had to be covered up with something, and a rotating chingun would be a perfect choice.
However, since I'd already added two large railguns on the original Z-Fighter, and fallen in love with the drop-down rocket launch mechanism. I decided to skip the chingun with that version and added the extra bulk with an extra set of slopes below that would indicate room for a decent load of rocket within the nose.

71-1100low.jpg (321611 byte)The second thing that annoyed me was the nose-"cone": It's actually really difficult to find a fitting piece that fits this configuration of long 3x12 slopes partly because the angles of the edge and rounded top are different, and partly because of the sharp corner:
With the original Z-Fighter, I chose a strongly pointed piece which looked really good from high angles because it continues the rounded top angle of the slopes really well, and reduced the abruptness of the corner considerably.
With this version, I wanted to use a much lower type of rooftop slope, initially I tried to use two half-pyramid- shaped 45 degree rooftop slopes, but although this looked pretty good from the side, it amplified the corner considerably.

In the end I decided to use the current part, only sloped on two sides: It look considerably more edgy than the tall pyramidcal piece, but since these can be made to continue the edgy curve along the back, and because the flatness make the corner considerably less prominent, I felt that this was the ultimate choice for nose cone.

Progress:

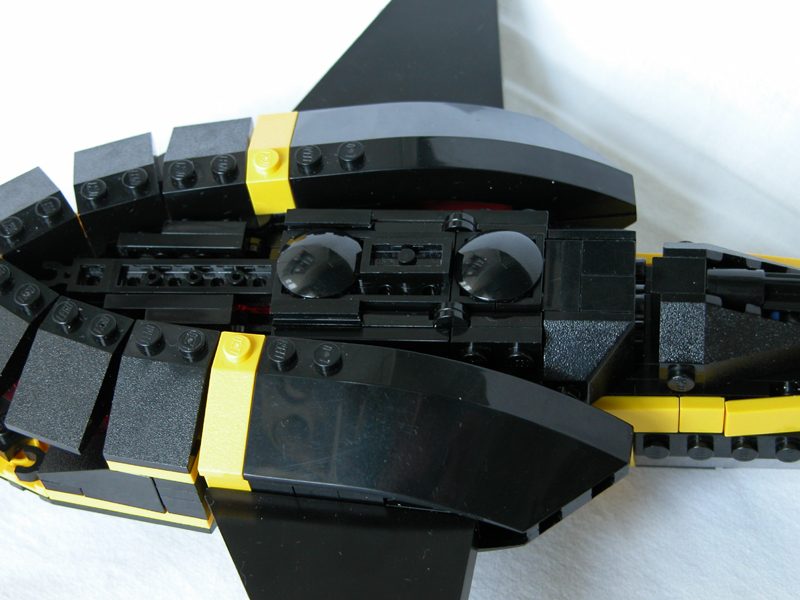
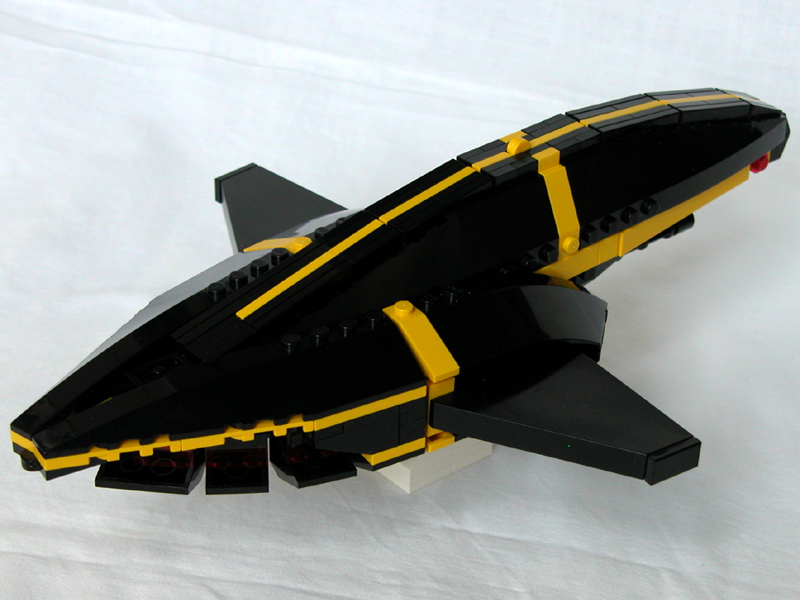
6/7 2006: I get send home on vacation from the archaeological dig I've been on for the last 3 months

7-8/7 2006: Starting on the Z-Fighter2, trying to figure out the engine

9/7 2006: Nose and back basically finished, trying to figure out an engine configuration that'll both stick together, and allow for a couple of wings centrally placed within the big curved slopes (the space is 6 plates high, I wanted to place the wings on a 5 plate/2 stud wide base 90 degrees to this), that didn't stick out on the inside, where it would conflict with the cockpit.

69-engine-version2.jpg (314282 byte)Status 10/7, second iteration of engine: I've basically achieved control with the complex curving technique inside - with the white backing the engine really glows, but it doesn't look good with the white parts showing in the gaps, and it feel to big and prominent. The third, retracted, version is finished in no time.

10/7 2006: Working engine solution reached in the third iteration.

71-belly.jpg (363580 byte)Belly, the stapled space wasn't the easiest space to fill out. The tail and nose sections is connected with a 2x8x2 2/2 bracket and a 2xn plate in the bottom, and with tiles on either side.

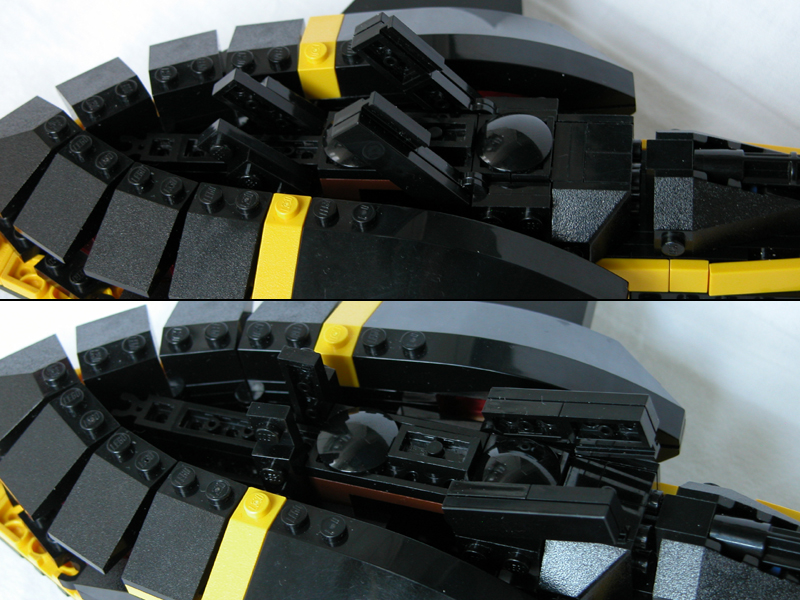
11-13/7 2006: Feeble attempts to tie everything together: Basically the big problem in the layout is that all the difficult stuff is supposed to be located right behind the nose and between the side sections of the engine: Cockpit, landing gear, and coherence.
Within this period I manage to connect the engine section to a centrally placed studs up structure behind the cockpit - the trouble is to connect this with the nose around the cockpit and still have space for landing gear below.

71-landing-gear.jpg (410709 byte)Working version of the landing gear. The interior of the stapled belly would've been a perfect place for some black greeble, but I couldn't add more without making the landing gear inaccessible.

14/7 2006: Feeble attempts to crack landing gear.

15/7 2006: Connection between engine section and nose resolved together with a fairly simple solution to the landing gear problem.

All in all I'd say I've spend around 5 full days (ranging from 8-10 hours each) on this craft, plus a lot of thought and small experiments and adjustments in the middle "crisis" period.
This kind building process is pretty normal for me: with long intense (series of) building days focusing on  particular problems or sections broken up by longer periods of "crisis" where I do other things while mulling over particularly difficult problems.

... Just if you were wondering how I manage to make kind of stuff I do: many building hours and a lot of thinking.

71-cockpit.jpg (409212 byte)Another improvement: hinged cockpit lid so it's a lot easier to get the pilot in and out. Drawback with the landing gear: yes, it's part of the cockpit side, so there's a hole when it's extended. I guess you better land a nice place or have your helmet on...

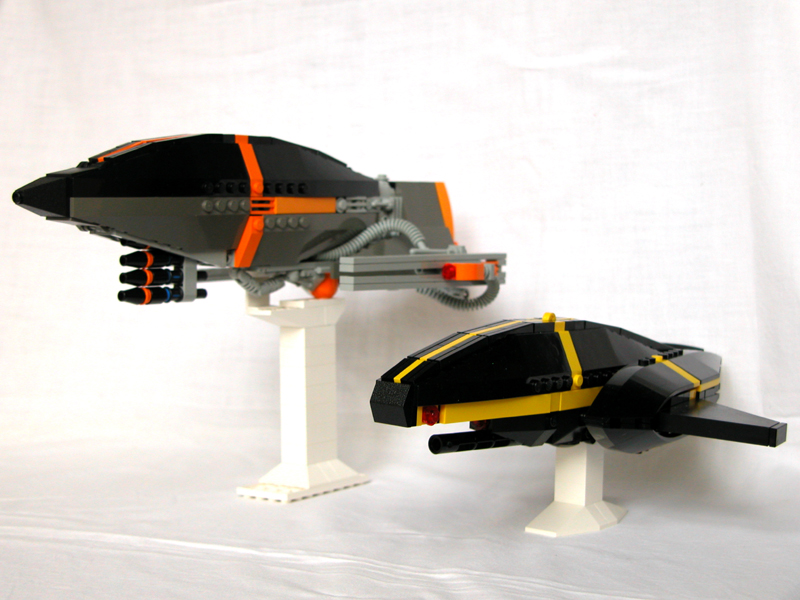
A sneak-peak of the model was added to my Flickr account the 15th of July, after which I made a slight change by adding a grille-tile on the side of the cockpit instead the yellow handle that was breaking up the lines.

The craft was presented in this thread in CSF aug 15th 2006, and later plagiarized by some guy called Mathieu on mocpages on december 1st 2007. Althought they say that plagiarization is the highest form of praise, I prefer that people just refer to this page.

71-0000.jpg (403400 byte)The curve of the engine isn't a perfect fit for the nose section, and the gap right behind is a bit annoying... but again: I wasn't really able to find anything to fill it with (and the little 1x2 plate with one stud is very important in keeping the lower part of the engine from hanging)

71-1200low.jpg (328635 byte) 71-1130low.jpg (204056 byte) 71-1030low.jpg (322865 byte) 71-0300low.jpg (359401 byte) 71-0430low.jpg (356025 byte) 71-0600.jpg (363358 byte) 71-belly1000.jpg (343469 byte) 71-belly0900.jpg (337259 byte) 71-belly0730.jpg (394539 byte)

[an error occurred while processing this directive]